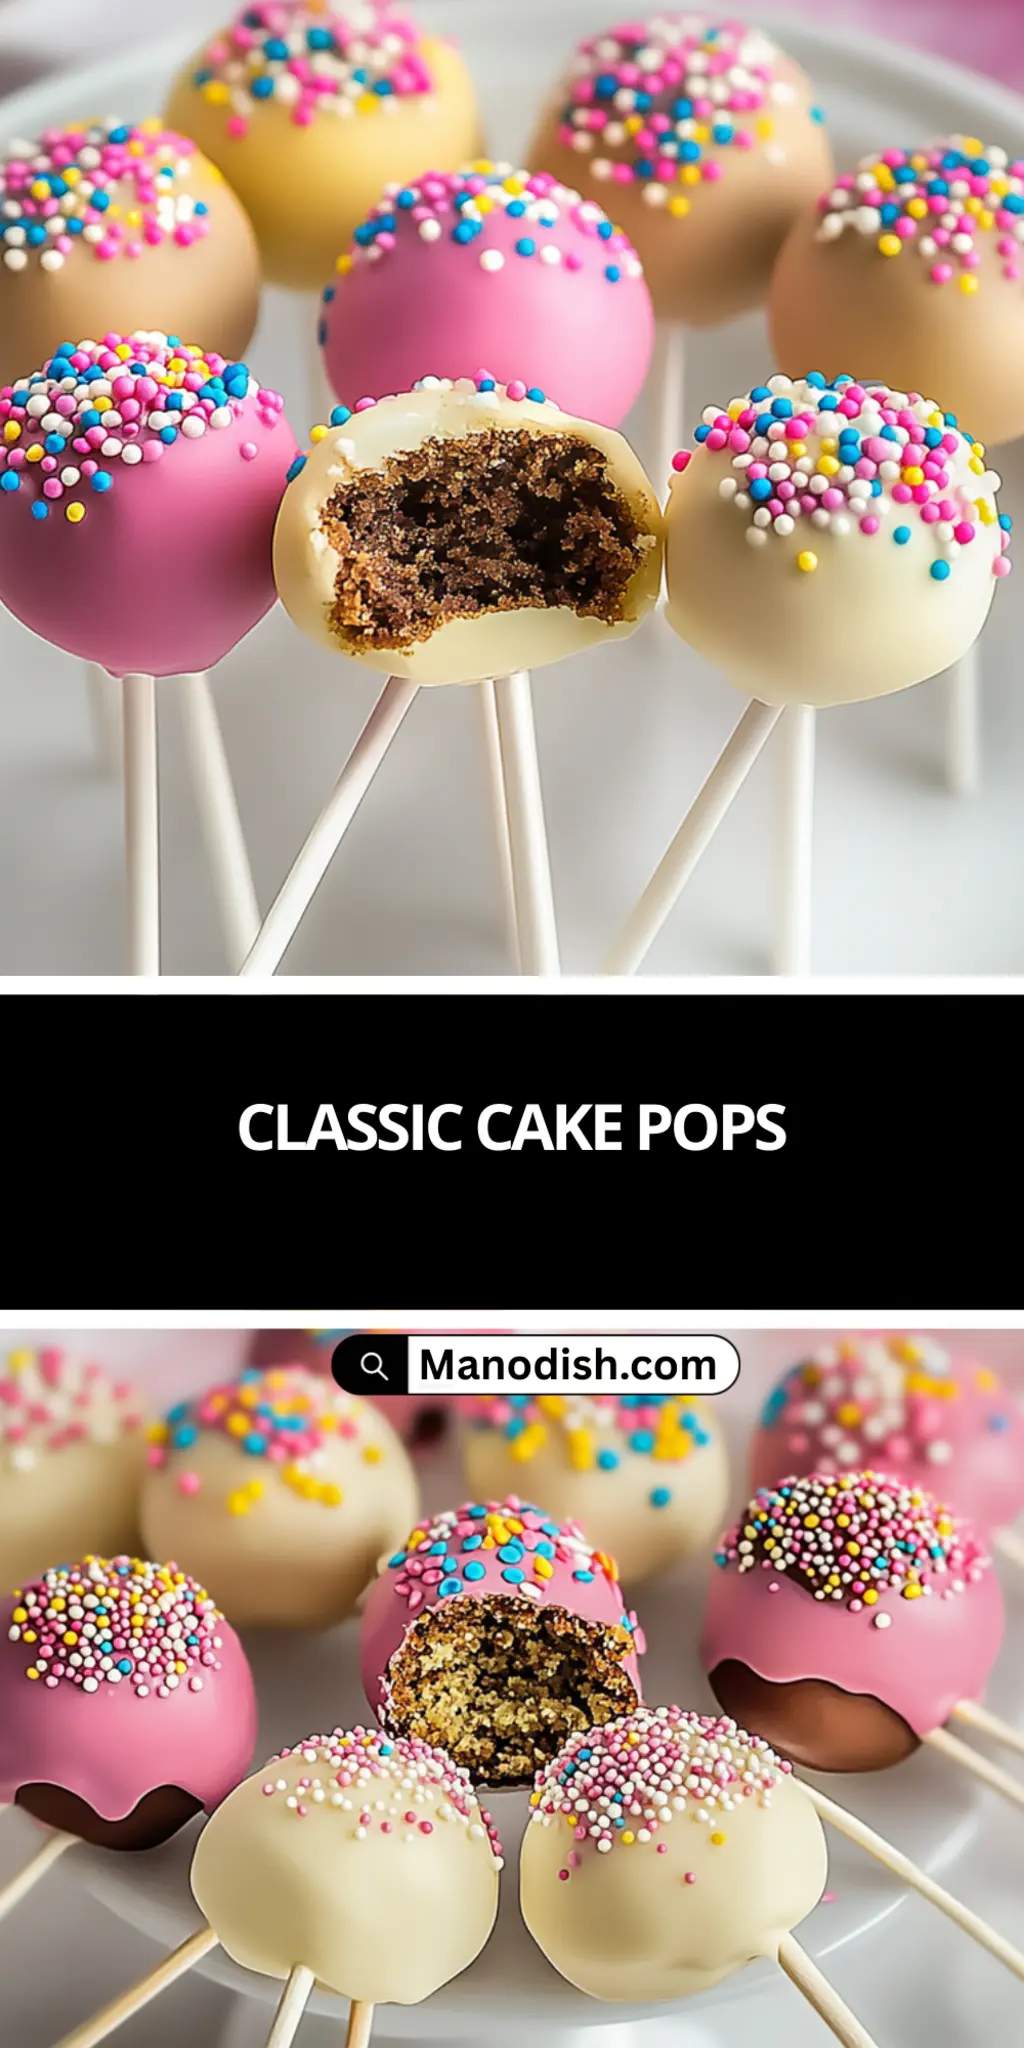
There’s something irresistibly fun about holding a little ball of cake on a stick, and that’s exactly where Classic Cake Pops come into play! I first discovered this delightful treat while planning a surprise birthday party for my best friend. With the clock ticking down and a panicked moment of inspiration, I remembered an old recipe I had tucked away in my kitchen cabinet. In just 20 minutes of active prep and a little chilling time, these charming pops turned into the star of the show.

Jump to:
What I love most about Classic Cake Pops is their versatility. You can use any cake flavor you like, whether it’s rich chocolate or fluffy vanilla, paired with your choice of frosting for added creaminess. They’re not just delicious; they also add a playful touch to any gathering—be it a birthday party, holiday celebration, or simply a sweet treat to brighten your day. Follow me as I guide you through creating these delightful bites of joy that are sure to impress friends and family alike!
Why You'll Love This Classic Cake Pops
- Classic Cake Pops are incredibly easy to make, allowing you to whip up a batch in just 20 minutes of active prep time.
- The flavor possibilities are endless, as you can choose any cake and frosting combination to satisfy your cravings.
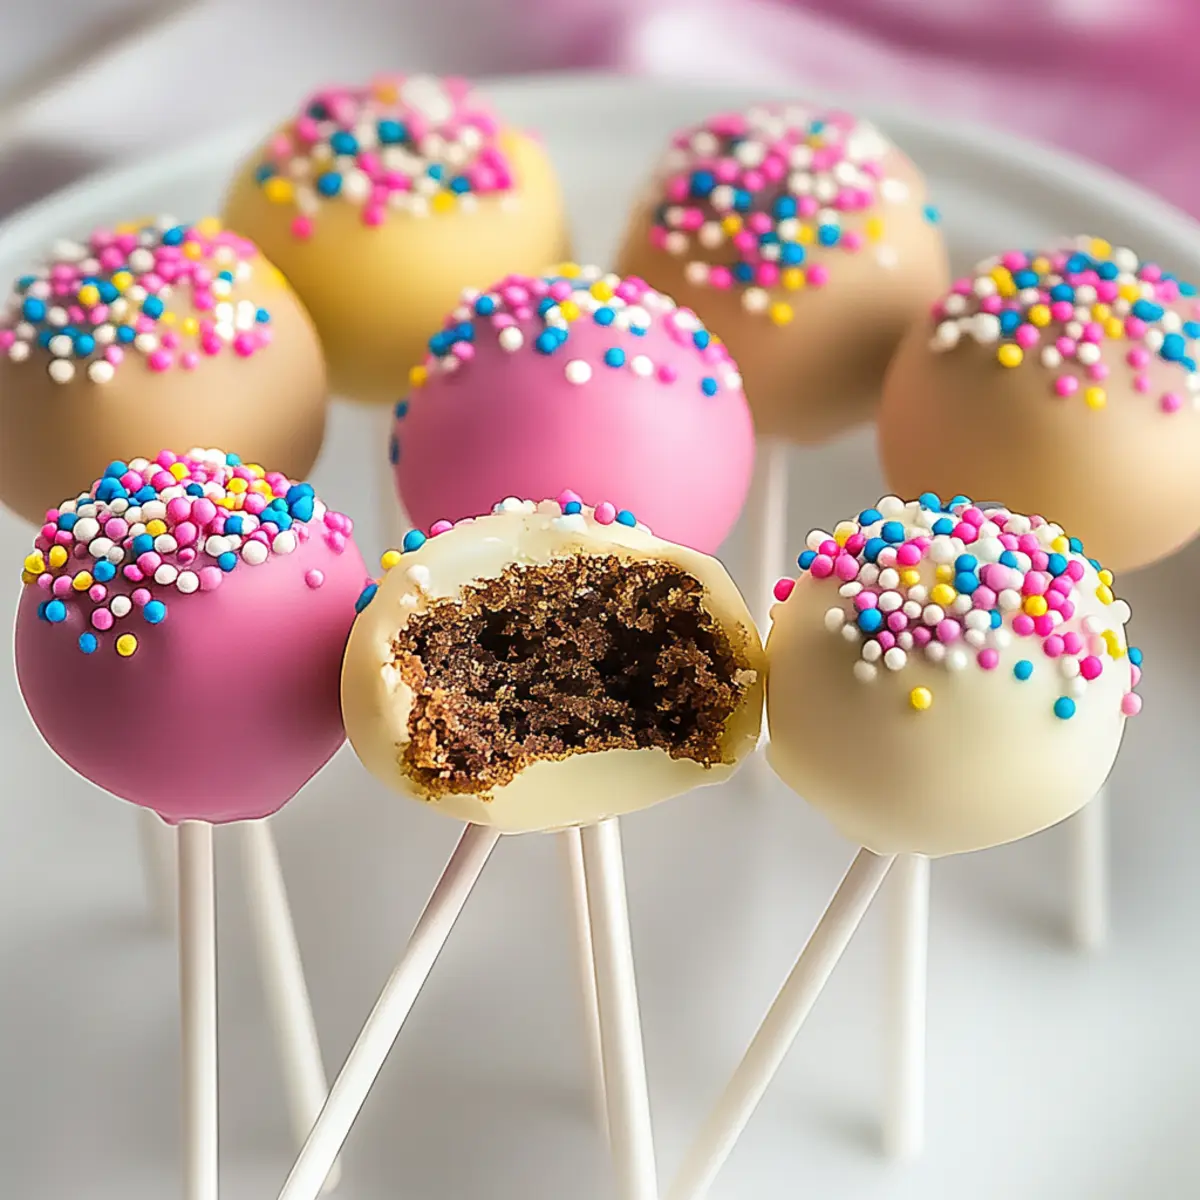
- Their visual appeal makes them an eye-catching addition to any dessert table, enticing guests with their colorful decorations and fun presentation.
- Plus, they are a guaranteed crowd-pleaser, great for parties or simply as a delightful treat to share with loved ones.
Classic Cake Pops Ingredients
Here’s what you’ll need to create these delightful treats!
For the Cake Base
- Baked cake – 1 cup crumbled Feel free to use any flavor of cake you love for your Classic Cake Pops!
- Frosting – 1/2 cup (cream cheese or buttercream) This adds moisture and flavor to the cake crumbs, bringing them to life.
For Coating
- Chocolate melts – 1 cup Choose your favorite color or flavor to coat your pops for a fun twist!
For Assembly
- Lollipop sticks – 10 These sturdy sticks keep your cake pops intact while allowing for easy enjoyment.
- Sprinkles or decorations – 1/4 cup (optional) Add them while the chocolate coating is wet for that festive touch.
How to Make Classic Cake Pops
Crumble the baked cake into fine crumbs in a large bowl. Take your time to break it down completely so that the mixture binds well with the frosting.
Combine the frosting with the cake crumbs until the mixture holds together when pressed. You want it to be moist yet firm enough to roll into balls.
Roll the mixture into small balls, about 1 inch in diameter. Place them on a lined baking sheet, making sure to keep some space between each ball to prevent them from sticking together.
Dip one end of each lollipop stick into the melted chocolate. This helps secure the stick in the cake ball. Insert it halfway into each ball, ensuring it’s steady for coating later.
Chill the cake balls in the refrigerator for about an hour until they are firm. This step is crucial for easy dipping and helps maintain their shape.
Coat each pop in melted chocolate until fully covered. While the chocolate is still wet, sprinkle on your decorations to add that extra flair and fun!
Set the pops upright in foam or a stand to allow the chocolate coating to harden. Once set, they’re ready to be enjoyed or shared!
Optional: Drizzle with extra melted chocolate for a decorative touch.
Exact quantities are listed in the recipe card below.
Classic Cake Pops Variations
Feel free to mix things up and create your own version of these delightful treats!
Gluten-Free: Substitute traditional cake with a gluten-free cake mix for the same great flavors without the gluten.
Vegan: Use a plant-based cake recipe and dairy-free frosting to make these pops suitable for vegans. Coconut cream frosting adds a lovely richness!
Flavor Boosts: Add a teaspoon of vanilla or almond extract into the mixture for an extra kick of flavor that’ll tantalize your taste buds.
Nutty Twist: Mix in some finely chopped walnuts or almonds into the cake batter before crumbling for added texture and a nutty flavor that’s utterly delightful.
Cheesecake Pops: Swap the traditional cake for a no-bake cheesecake mix! These pops will be rich and creamy, giving a delightful twist to the classic recipe.
Spice It Up: Add a sprinkle of cinnamon or pumpkin spice to the frosting for a warm, cozy flavor—perfect for fall gatherings or holiday parties!
Chocolate Lovers: Use a combination of white, dark, and milk chocolate melts for a multi-layered chocolate experience that will surely please any chocolate aficionados.
Fruity Swirl: Incorporate some crushed freeze-dried fruit like strawberries or raspberries into the cake mixture for a fruity flavor and lovely specks of color.
How to Store and Freeze Classic Cake Pops
Room Temperature: Cake pops can be stored at room temperature for up to 2 days. Keep them in an airtight container to maintain moisture and freshness.
Fridge: If you’d like to extend their shelf life, store the classic cake pops in the refrigerator for up to 1 week. Use a covered container to prevent them from drying out or absorbing odors.
Freezer: For longer storage, classic cake pops can be frozen for up to 3 months. Wrap each pop individually in plastic wrap and place them in a freezer-safe bag or container.
Reheating: To enjoy, simply remove the number of pops you want and let them thaw in the fridge overnight. Avoid microwaving them, as it can ruin the coating and texture.
Make Ahead Options
Classic Cake Pops are perfect for meal prep and can be made ahead to simplify your dessert planning. You can prepare the cake balls up to 24 hours in advance; simply roll them and store them in an airtight container in the refrigerator. When you’re ready to serve, dip the chilled cake pops into melted chocolate and add your favorite sprinkles. To maintain their delectable quality, keep the pops refrigerated until you coat them, as this prevents them from becoming too soft. With this make-ahead strategy, you’ll have these crowd-pleasing Classic Cake Pops ready to impress your guests with minimal effort!
What to Serve with Classic Cake Pops?
The delightful charm of cake pops can elevate any gathering, making it a perfect centerpiece for desserts.
Fluffy Vanilla Ice Cream: Creamy and cold, it balances the sweetness of the cake pops perfectly. A scoop adds a dreamy touch!
Fruit Platter: Fresh berries and tropical fruits provide a refreshing contrast to the sweetness of your cake pops. They brighten up the table and add vibrant color.
Chocolate Dipping Sauce: For chocolate lovers, serving a warm chocolate sauce alongside can take the indulgence up a notch. Guests can dip their pops and create their own delicious experience!
Milkshakes: Creamy, thick, and flavored just the way you like, milkshakes make the perfect drink pairing for these sweet bites. Kids and adults alike will adore the combination!
Coffee or Tea: A hot brew offers a cozy experience that contrasts beautifully with the sweet cake pops. The warmth of the beverage balances out the sugar perfectly.
Mini Cupcakes: Pairing with small cupcakes keeps that playful vibe going. The variety of flavors adds excitement to the dessert spread, inviting guests to mix and match.
Lemonade or Fruit Punch: A cold, tangy drink complements the sweetness of cake pops. The zesty flavors provide a refreshing palate cleanser, making each bite even more enjoyable.
Dark Chocolate Truffles: For a rich treat, dark chocolate truffles provide an elegant contrast to cake pops, enticing guests with their luxurious flavors. A little touch of sophistication on your dessert table!
These pairings offer a delightful spread, enhancing your experience of Classic Cake Pops while ensuring your gathering is a memorable one!
Chef's Helpful Tips
- When making Classic Cake Pops, ensure your cake is fully cooled before crumbling to prevent excess moisture from affecting the texture.
- A common mistake is adding too much frosting; start with a small amount and increase gradually until the mixture holds together properly.
- To create perfectly shaped balls, roll the mixture in your hands gently, avoiding compression that can lead to cracks during coating.
- Chill the cake balls for at least an hour to help them maintain their shape when you dip them in chocolate, ensuring a smooth finish.
Classic Cake Pops Recipe FAQs
What kind of cake should I use for the Classic Cake Pops?
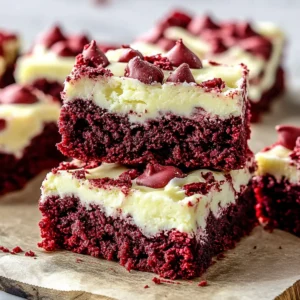
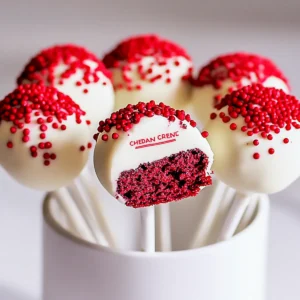
Absolutely! You can use any flavor of baked cake for your Classic Cake Pops. Whether it’s a rich chocolate cake, a light vanilla sponge, or even a fruity option like lemon or red velvet, the choice is yours! Just remember to crumble it finely so it mixes well with the frosting.
How do I store leftover Classic Cake Pops and how long do they last?
Classic Cake Pops can be stored at room temperature for 2 days in an airtight container. If you want to keep them fresher for longer, refrigerate them where they will last up to 1 week. Just make sure you use a covered container to retain their moisture and keep out any odors!
Can I freeze Classic Cake Pops? If so, how?
Yes, you can! For freezing Classic Cake Pops, wrap each one individually in plastic wrap after they are fully set. Place them in a freezer-safe bag or container to keep them fresh. They can be frozen for up to 3 months. When you’re ready to enjoy, simply remove the desired amount and let them thaw in the fridge overnight—this keeps their texture perfect!
What if my cake mixture is too dry or crumbly?
Very! If you find your mixture is too dry, don’t panic. Start by adding a bit more frosting, one tablespoon at a time, and mix well after each addition. The mixture should be moist but firm enough to hold together when rolled into balls. If it ends up too wet, you can add a bit more crumbled cake until the consistency is just right.
Are Classic Cake Pops safe for pets and those with allergies?
These tasty treats contain ingredients like chocolate and frosting, which are not safe for pets—so keep them away from your furry friends! Additionally, if you’re hosting guests with dietary restrictions, make sure to ask about allergies. You can customize these pops with gluten-free cake and allergy-friendly frosting options to accommodate different needs, ensuring everyone can indulge!
Classic Cake Pops
Ingredients
Equipment
Method
- Crumble the baked cake into fine crumbs in a large bowl.
- Combine the frosting with the cake crumbs until the mixture holds together when pressed.
- Roll the mixture into small balls, about 1 inch in diameter.
- Dip one end of each lollipop stick into the melted chocolate and insert it halfway into each ball.
- Chill the cake balls in the refrigerator for about an hour until they are firm.
- Coat each pop in melted chocolate until fully covered.
- Set the pops upright in foam or a stand to allow the chocolate coating to harden.