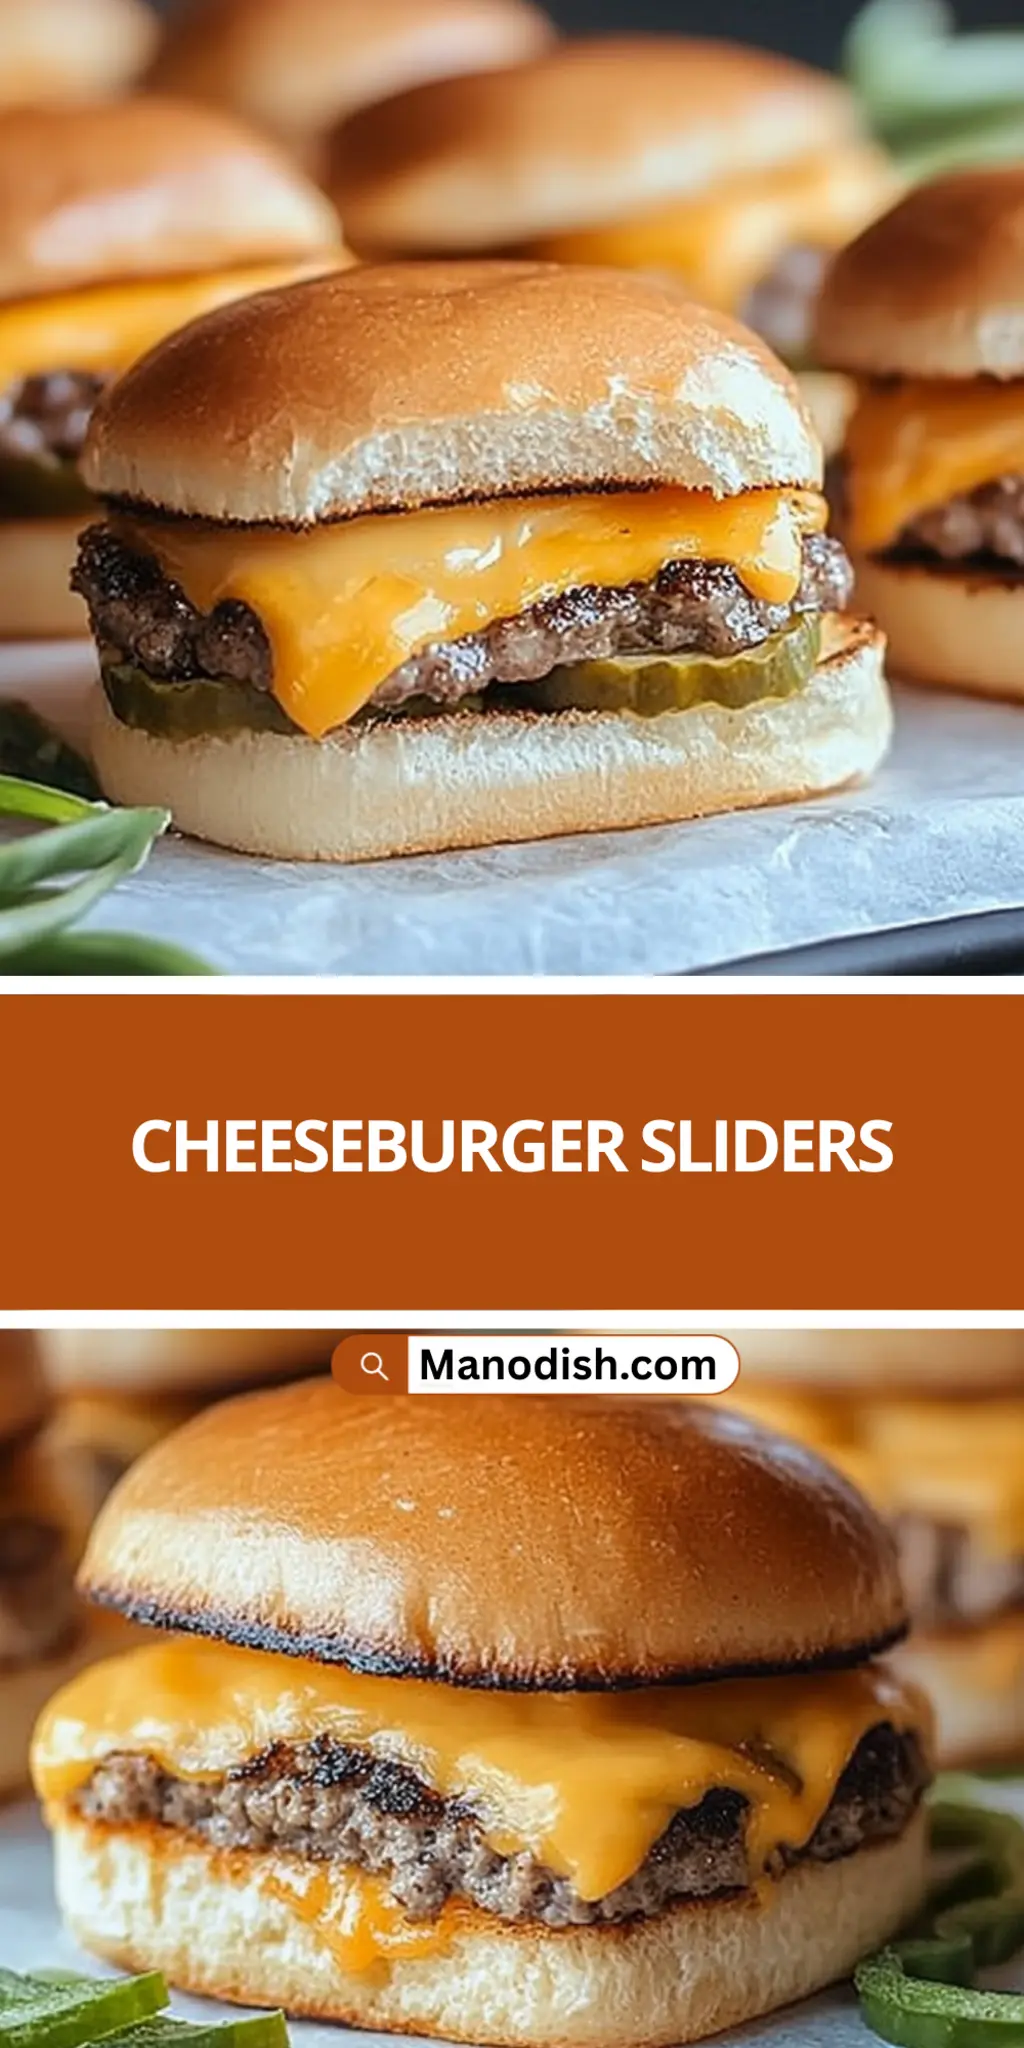
There’s something about a warm cheeseburger slider that instantly transforms any ordinary day into a fun gathering. Picture this: a cozy evening at home, the inviting aroma of sizzling beef wafting through the air, and laughter bubbling up as friends crowd around the kitchen. I found these cheeseburger sliders to be the ultimate solution for those nights when you’re craving comfort food but want something quick and delightful.

Jump to:
- <strong>Cheeseburger Sliders Ingredients</strong>
- <strong>For the Sliders</strong>
- <strong>For the Toppings</strong>
- How to Make Cheeseburger Sliders
- How to Store and Freeze Cheeseburger Sliders
- What to Serve with <strong>Cheeseburger Sliders</strong>?
- Make Ahead Options
- <strong>Cheeseburger Sliders Variations</strong>
- Cheeseburger Sliders Recipe FAQs
These little gems come together in just 25 minutes, making them perfect for easy weeknight dinners or last-minute gatherings. Each slider is a delightful burst of flavor, wrapped in soft buns, gooey cheese, and your favorite toppings—what’s not to love? Whether you’re looking to impress guests or simply satisfy your own cravings, these sliders are sure to hit the spot. Let’s dive in and create some sliders that will have everyone coming back for seconds!
Why You'll Love This Cheeseburger Sliders
- These cheeseburger sliders are incredibly easy to make, allowing you to whip up a delicious meal in just 25 minutes.
- The combination of warm beef, melted cheese, and your favorite toppings creates a flavor explosion that will leave everyone wanting more.
- Their versatility means you can customize each slider to suit everyone’s taste, whether that means adding pickled onions or keeping them classic with just ketchup and mustard.
- Plus, they are visually appealing, making them the perfect centerpiece for any gathering that is sure to impress your guests.
Cheeseburger Sliders Ingredients
For the Sliders
• Ground beef – Use 80/20 lean-to-fat ratio for juicy sliders.
• Slider buns – Choose soft white or whole wheat for the best texture.
• American cheese – Melts perfectly for that classic cheeseburger flavor.
For the Toppings
• Ketchup – Your favorite brand will add that sweet tangy goodness.
• Yellow mustard – A little zing to complement the flavor of the beef.
• Pickled onions (optional) – Adds a delightful crunch and zest to your sliders.
These cheeseburger sliders not only promise quick preparation but also allow for endless customization to please every palate at your table!
How to Make Cheeseburger Sliders
Preheat oven: Begin by preheating your oven to 350°F (175°C). This ensures that the baking dish is perfectly heated for the sliders to warm up nicely.
Mix beef: In a spacious bowl, gently combine the ground beef with salt and pepper. Don’t overmix, as you want to keep the patties tender and juicy.
Shape patties: Form the beef mixture into small patties, roughly 2 ounces each. This size is perfect for sliders, allowing for easy handling and delightful bites.
Cook patties: Heat a skillet over medium-high heat. Cook the patties for about 3 minutes on each side, and during the last minute, place a slice of cheese on each patty to melt beautifully.
Assemble sliders: Once cooked, place the cheesy patties on the slider buns. Add your favorite toppings like ketchup, mustard, and pickled onions for that extra special touch.
Serve warm: Present the sliders to your guests immediately while they’re warm and gooey, inviting everyone to dig in!
Optional: Serve with a side of crispy fries for a classic pairing.
Exact quantities are listed in the recipe card below.
How to Store and Freeze Cheeseburger Sliders
Room Temperature: Keep any leftover cheeseburger sliders at room temperature for no more than 2 hours to maintain freshness.
Fridge: Store sliders in an airtight container in the fridge for up to 3 days. Reheat in the microwave for a quick meal.
Freezer: Wrap individual sliders in plastic wrap, then place them in a freezer-safe bag. They’ll stay good for up to 2 months!
Reheating: When ready to enjoy, reheat frozen sliders in the oven at 350°F (175°C) for about 10-15 minutes or until heated through.
What to Serve with Cheeseburger Sliders?
Create a mouthwatering meal that satisfies everyone’s cravings and pairs perfectly with sliders.
Crispy French Fries: Golden and crunchy, fries add a classic touch, balancing the savory flavors of the sliders. Dipping them in ketchup elevates their appeal.
Coleslaw: This crunchy side offers a refreshing contrast, bringing a tangy sweetness that complements the richness of cheesy sliders. It’s colorful and adds vibrant texture to your meal.
Sweet Potato Wedges: Baked until caramelized, these wedges provide a delightful sweetness, contrasting beautifully with the salty cheeseburgers. Every bite is a flavorful adventure!
Onion Rings: Crunchy and lightly salted, onion rings elevate the indulgence factor, offering a satisfying crunch alongside your soft sliders. Perfect for sharing or snacking.
Garden Salad: A light and crisp mix of greens drizzled with vinaigrette adds freshness to balance the hearty sliders. It’s a delicious way to include veggies in your meal.
Pickle Platter: A variety of pickles—dill, sweet, and spicy—provides tanginess, enhancing the flavors of the sliders while also making for a fun, interactive side dish.
Milkshakes: For a nostalgic twist, pair your sliders with creamy milkshakes in flavors like chocolate or vanilla for a sweet and comforting finish.
Beer or Lemonade: A cold beer pairs perfectly with the hearty flavors, while a refreshing lemonade adds a zesty kick that’s incredibly thirst-quenching.
Make Ahead Options
These Cheeseburger Sliders are perfect for meal prep enthusiasts! You can prepare the ground beef patties up to 24 hours in advance, allowing you to simply refrigerate them (covered with plastic wrap) until you’re ready to cook. Additionally, you can slice the cheese and gather your condiments ahead of time for a seamless assembly on busy weeknights. When you’re ready to serve, all you need to do is heat the skillet, cook the patties for about 3 minutes on each side, melt the cheese during the last minute, and assemble everything on the slider buns with your toppings. This way, you’ll have delicious homemade sliders with minimal effort, just as delightful as if they were made fresh that day!
Cheeseburger Sliders Variations
Feel free to unleash your creativity and make these sliders your own with delightful twists that will tantalize your taste buds.
Turkey Sliders: Substitute ground turkey for a leaner option. They still deliver that satisfying slider experience!
Cheese Swap: Experiment with different cheeses like cheddar or pepper jack for a flavorful kick. Melted pepper jack adds a nice hint of spice.
Veggie Option: Use black bean patties for a hearty vegetarian alternative. They bring a completely different texture and taste that everyone will love.
Spicy Kick: Add diced jalapeños to your beef mixture or top with spicy sriracha mayo. This will awaken your sliders with a zing!
BBQ Flare: Mix in some barbecue sauce with the ground beef for a smoky flavor that pairs perfectly with cheddar cheese. It’s a simple way to elevate your sliders!
Garlic Butter Buns: Brush your slider buns with garlic butter before toasting. This elevates the flavor to marvelous levels, making your sliders even more irresistible.
Pickle Lovers: Incorporate dill relish or crunchy dill pickle slices for an extra pop of flavor. It adds a delightful tang that complements the beef wonderfully.
Herbed Sliders: Mix fresh herbs like rosemary or thyme directly into the beef. They’ll infuse a fragrant aroma and fresh flavor into each bite, turning ordinary sliders into something extraordinary.
Chef's Helpful Tips
- For cheeseburger sliders, it’s crucial to use ground beef with an 80/20 lean-to-fat ratio to ensure juicy and flavorful patties.
- Remember not to overmix the beef when combining it with seasonings, as this can lead to tough sliders.
- When cooking the patties, ensure your skillet is properly heated to achieve a nice sear and to lock in the juices, cooking for approximately 3 minutes per side.
- Lastly, when you melt the cheese on the patties, keep an eye on the timing to ensure it’s perfectly gooey without overcooking the meat.
Cheeseburger Sliders Recipe FAQs
What type of ground beef is best for cheeseburger sliders?
Absolutely! For the juiciest and most flavorful cheeseburger sliders, I recommend using ground beef with an 80/20 lean-to-fat ratio. This balance ensures that the patties remain tender and packed with flavor while cooking.
How should I store leftover cheeseburger sliders?
You can store any leftover cheeseburger sliders in an airtight container in the fridge for up to 3 days. Just make sure to reheat them in the microwave or oven before enjoying again. If they’re still warm when you store them, let them cool lightly first to prevent sogginess!
Can I freeze cheeseburger sliders?
Yes, you can! To freeze cheeseburger sliders, wrap each slider individually in plastic wrap. Then, place them in a freezer-safe bag or container. They’ll be delicious for up to 2 months. When you’re ready to eat, simply reheat them in the oven at 350°F (175°C) for about 10-15 minutes until warmed through.
How can I troubleshoot dry cheeseburger sliders?
If your sliders turn out dry, it might be due to overcooking. Always aim for a cooking time of about 3 minutes per side on medium-high heat, and keep an eye on them! Let them rest for a minute or so after cooking to allow the juices to redistribute. Also, don’t forget to use the proper fat ratio in the ground beef for that extra juiciness!
Are cheeseburger sliders safe for pets?
While the patties themselves are not toxic to dogs, it’s important to keep in mind that seasoned ground beef may contain ingredients like garlic or onion, which can be harmful. Always check the seasoning before sharing leftovers with your furry friends, and keep the sliders away from them if they contain toppings like ketchup or mustard that are not safe for pets.
Can I make cheeseburger sliders gluten-free?
Very much! To make cheeseburger sliders gluten-free, simply opt for gluten-free slider buns. There are many tasty options available at most grocery stores. Likewise, ensure all toppings and condiments are labeled gluten-free to keep your sliders safe and enjoyable for everyone!

Cheeseburger Sliders
Ingredients
Equipment
Method
- Preheat your oven to 350°F (175°C).
- In a spacious bowl, gently combine the ground beef with salt and pepper. Don’t overmix.
- Form the beef mixture into small patties, roughly 2 ounces each.
- Heat a skillet over medium-high heat and cook the patties for about 3 minutes on each side, placing a slice of cheese on each patty during the last minute.
- Once cooked, place the cheesy patties on the slider buns and add your favorite toppings.
- Serve warm to your guests immediately!